Using Node-Red for Open Data
Node-red is a graphical tool for rapidly creating working prototypes. See how you can use the tool to connect to SBanken and more!
Introduction to Node-red
Why looking at Node-red?
Node-red can be used to facilitate:
- Retrieve data from Services, OpenAPI (e.g., S.Banken API), etc.
- Retrieve data from sensors and devices
- Build dashboards and graphical user interfaces
- Integration with Blockchain
Node-red is an open-source platform that has been developed by IBM in 2013. It was originally designed for building Internet of Things (IoT) applications as it facilitates the integration of IoT devices and the processing of data events. However, it has evolved and been applied in a large range of domains (e.g., data processing, Industry 4.0). In general, Node-red is very interesting for the early prototyping of small applications or services. In the rest of this article we will introduce Node-red.
Technically, Node-red is built upon Node.js, which itself is a Javascript runtime engine, and thus can be executed on a wide range of computing resources starting from cloud-based virtual machines to small devices such as Raspberry Pis.
Node-red is a graphical tool that follows the Flow-based programming paradigm. It comes with a web-based graphical editor, which enables the visual programming of applications by binding pre-defined software blocks (a.k.a. nodes) together. These software blocks can be (i) off-the-shelf nodes – Node-red is supported by a very large community resulting in a large set of nodes already available; or (ii) one can implement its own node. The Figure below shows the Node-red editor.
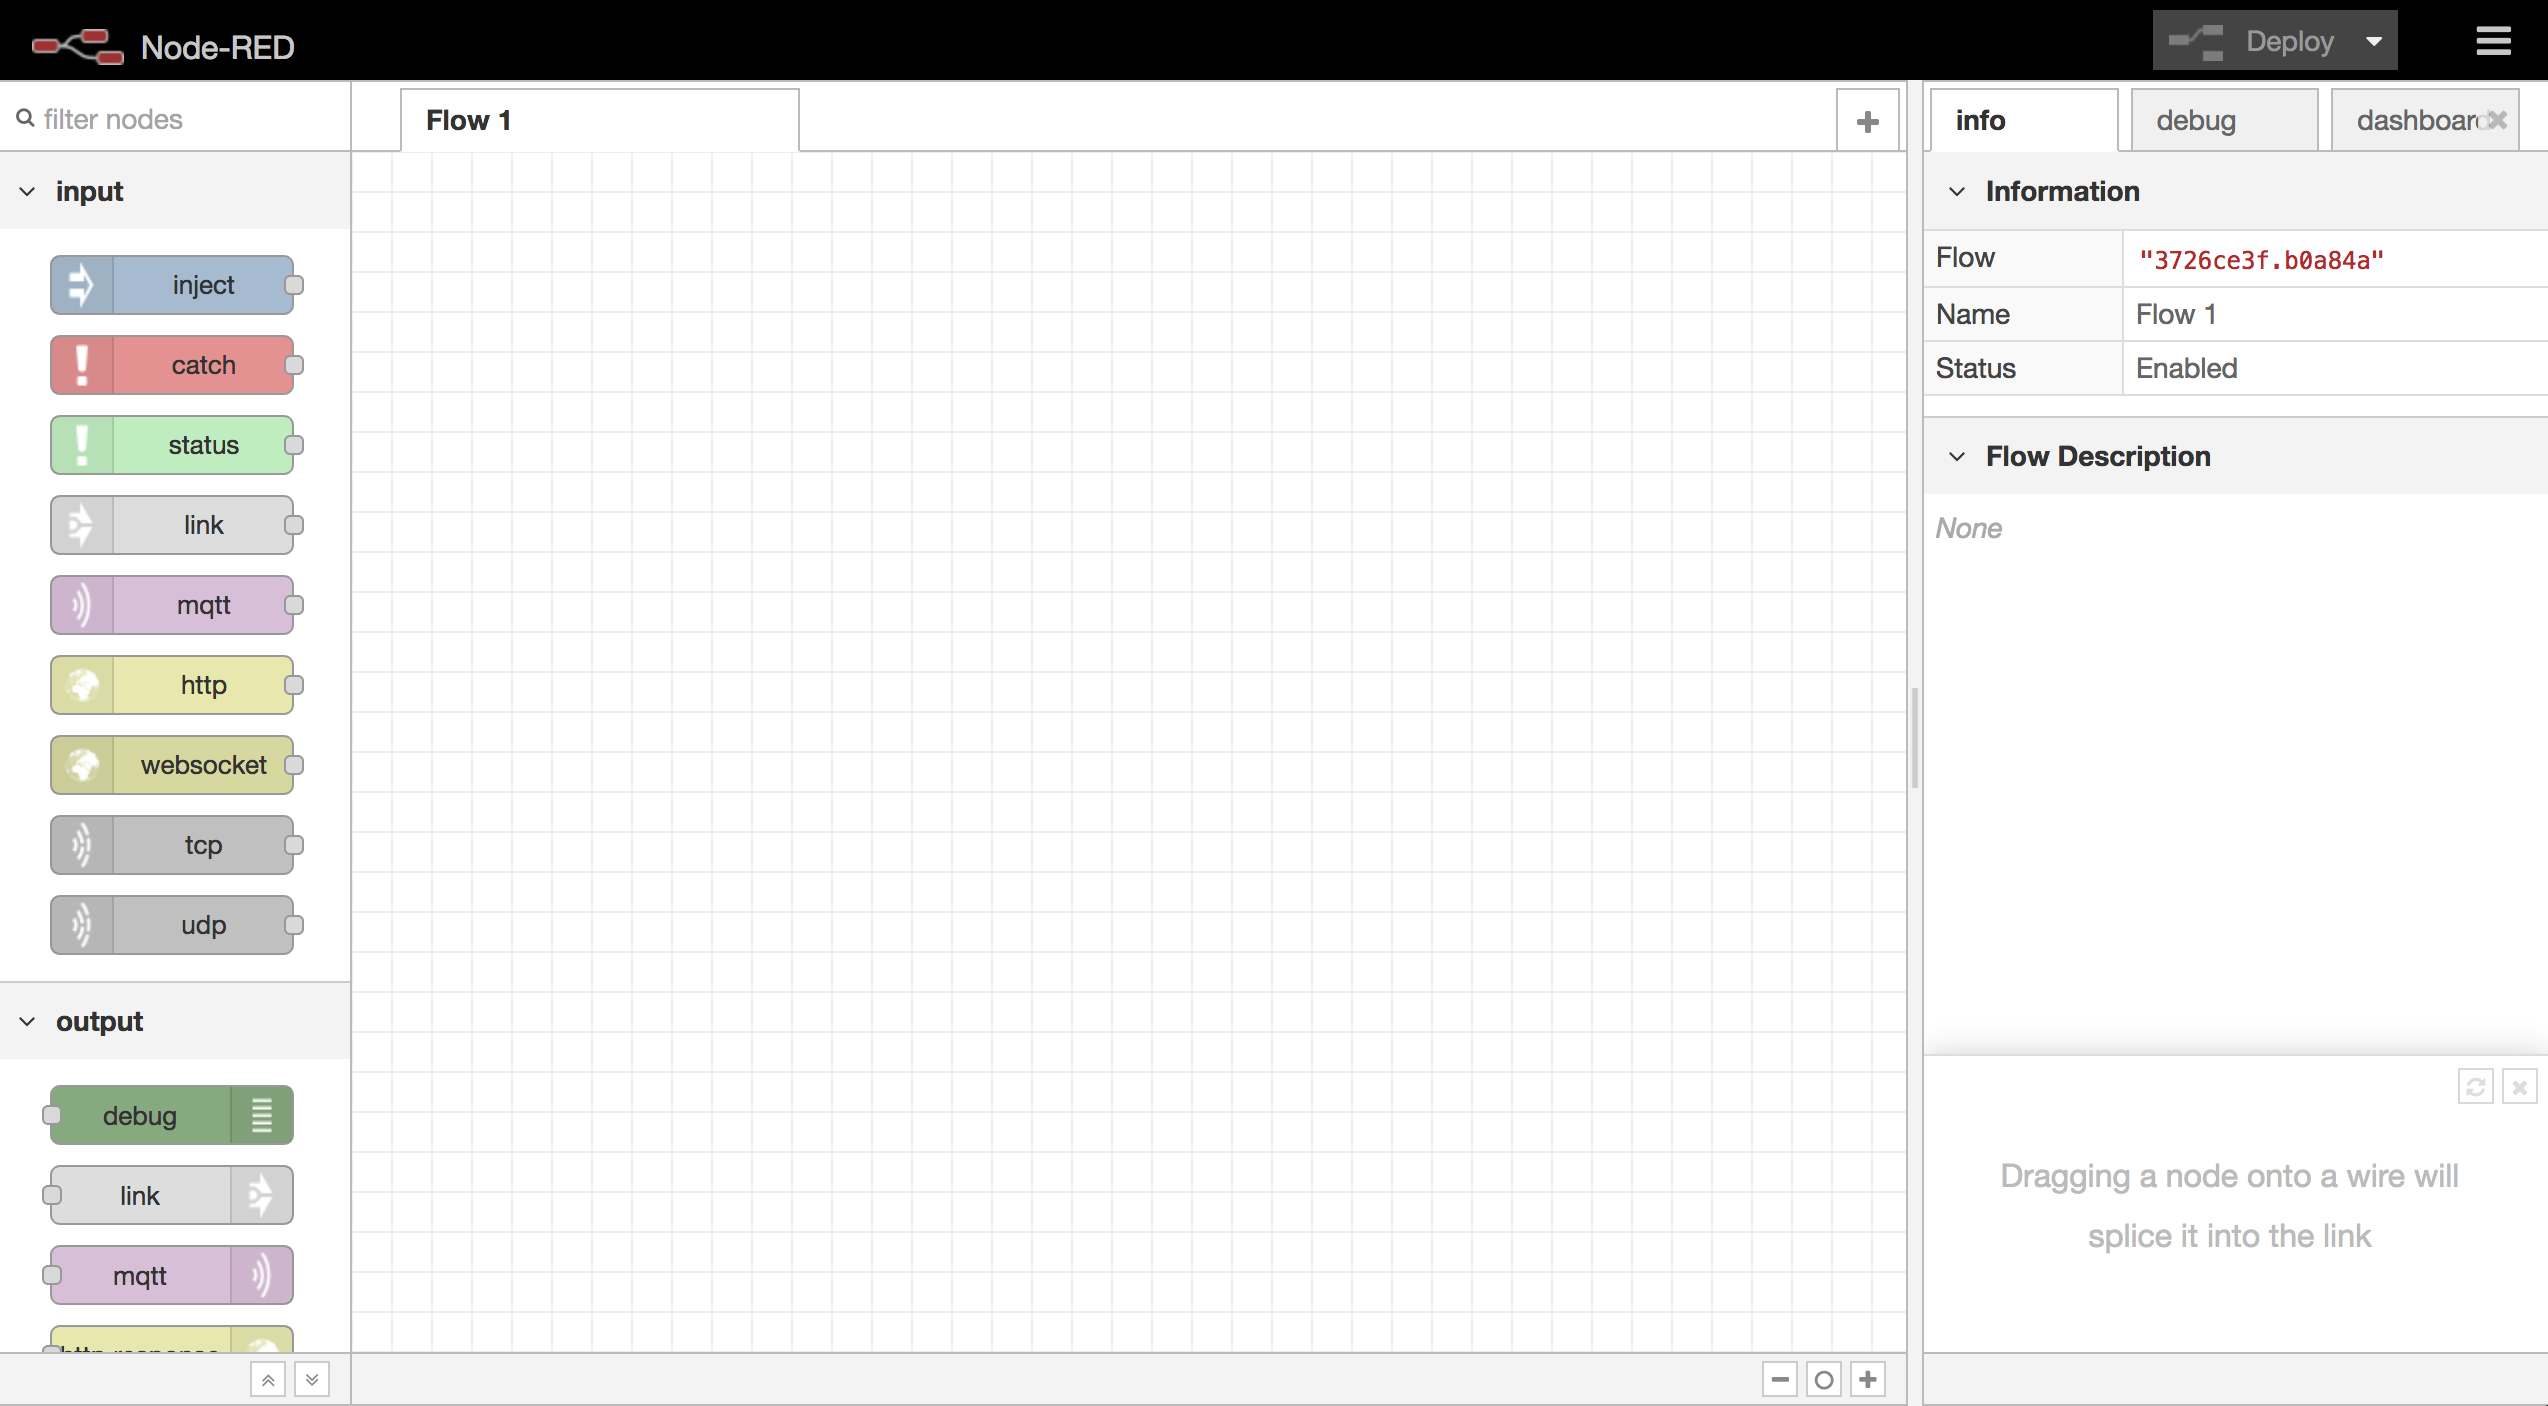
The editor is divided in three main parts:
- The palette (left part): the set of nodes available for building an application. Nodes can be added into a flow by drag-and-drop.
- The flow (central part): represents the current application.
- The property tab (right part): provides a description of a node and can be used to configure a node.
At the very top, the “deploy” button can be used to deploy a flow making it “active” (i.e., the flow is sent to the server and executed). Further information can be found on the different type of deployment in the following pages: https://nodered.org/docs/user-guide/.
Node-red leverages classical Flow-based programming concepts:
- Flow: An orchestration of nodes and wires. A flow is a directed acyclic graph (DAG).
- Nodes: An operation. n input and output ports. Workers are created for long running asynchronous operations. Nodes send and receive messages.
- Wire: Connects two nodes. No circular dependencies.
There are three main types of nodes:
- Input Nodes (e.g. inject): to inject data into a Node-red flow.
- Output Nodes (e.g. debug): to expose data outside a Node-red flow.
- Processing Nodes (e.g. function): for data processing.
How to get started
If you want to run the latest code from Git, here is how to get started:
- Clone the code:
git clone https://github.com/node-red/node-red.git cd node-red - Install the node-red dependencies:
npm install - Build the code :
npm run build - Run:
npm start
One can start Node-red as a Docker container using the following command:
docker run -it -p 1880:1880 --name mynodered nodered/node-red-docker
It is worth noting that Node-red can also be executed on Android smartphone.
A simple example
In the following video we will present in a very simple example showing how to (i) gather data from the OpenAPI offered by S.Banken, (ii) edit the obtained data and (iii) display the result. Please note that for confidentiality purpose fake user ids are used in this demo.
In order to retrieve your S.Banken access token you need to send a HTTP POST request to the following URL: https://api.sbanken.no/identityserver/connect/token. Please find below the code used in the video to set up the headers of this request. Please note that in this code, the “…==” should be replaced by a base64 code generated from your user.id and secret. This can be done using this tool: https://www.blitter.se/utils/basic-authentication-header-generator/
msg.payload="grant_type=client_credentials";
msg.headers={};
msg.headers['Authorization']="Basic …==";
msg.headers['Content-Type']="application/x-www-form-urlencoded";
return msg;
Details about the S.Banken API can be found at: https://api.sbanken.no/Bank/swagger/index.html Please find below the code used in the video to set up the headers for all request to the S.Banken API. Please note that this code takes the result of the request to the access token as input.
msg.headers={};
var accessToken=JSON.parse(msg.payload);
msg.headers['Authorization']="Bearer "+accessToken.access_token;
return msg;
Node-red offers a set of nodes to build graphical user interfaces and in particular dashboards. In the following video, we will show how easy it is to build a simple dashboard. Further details can be found in the following resource: http://noderedguide.com/lecture-7-dashboards-and-ui-techniques-for-node-red/.
Finally, thanks to the HTTP input and output nodes. It is pretty easy to expose a Node-red flow as a REST service. The following video will show how to build a simple REST service.
Finally, as explained in the introduction, Node-red has been developed by IBM and has now been integrated with the IBM blockchain tool called Hyperledger. The following resource describes how to combine Node-red and Hyperledger: https://flows.nodered.org/node/node-red-contrib-hyperledger-composer.
For simple experimentations, a basic blockchain implementation, which exposes a REST interface and can thus be easily integrated with Node-red, is available here: https://github.com/lhartikk/naivechain
Resources: